
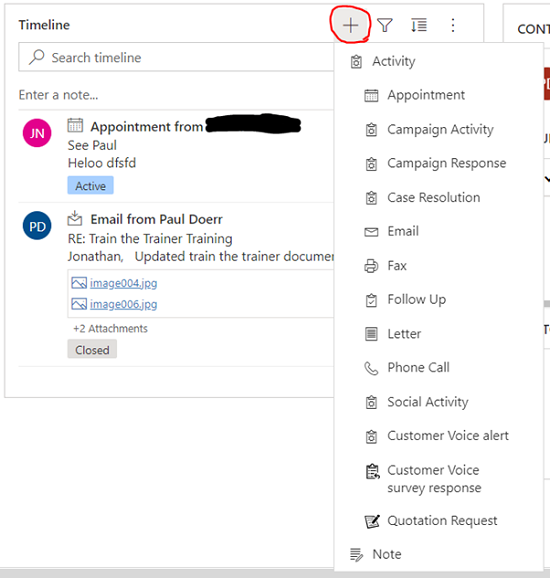
Within the Timeline of an entity sometimes there may be activity items that you may no longer want to create.
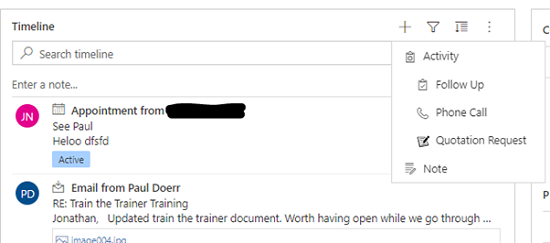
For example if I open the standard ‘Company’ entity in the unified interface and click on the ‘+’ icon inside the timeline, we may be presented with options that we may want to remove from the list of activities we can create.
Removing these activity items
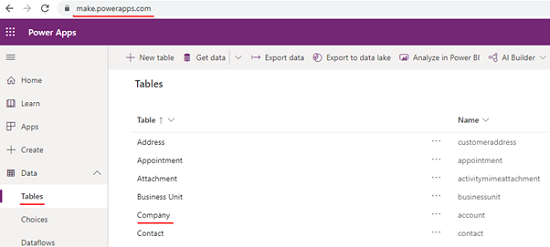
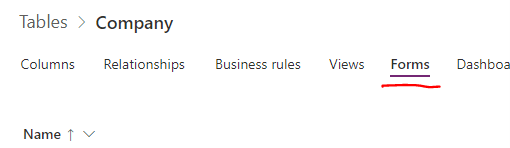
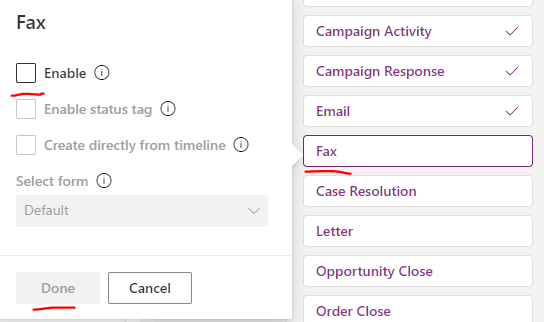
If for example we would like to remove the creation option of some of these activity items, we go into the new power apps customisation area. To do this log into CRM, open a fresh browser tab, type ‘https://make.powerapps.com/’, then click on tables, select the company table, go to the form designer and then select the ‘Timeline’.
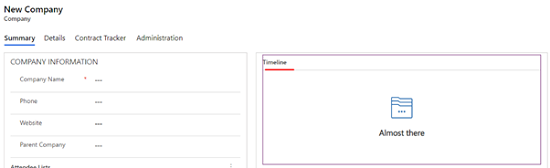
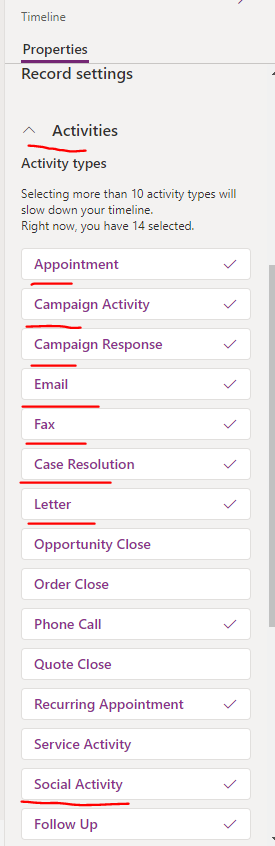
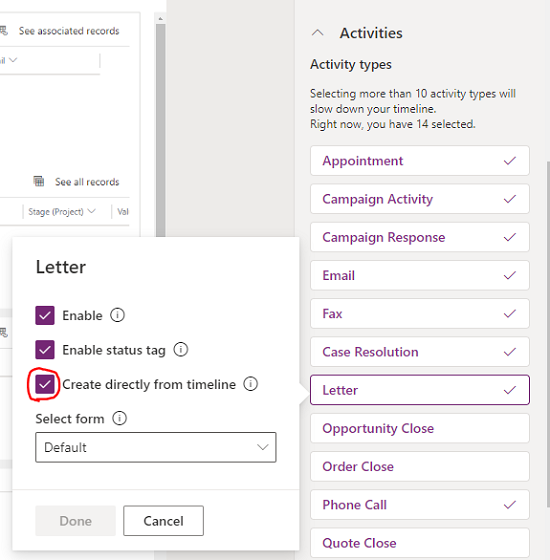
If we don’t not wish to create such things as Letters, Fax etc in the Timeline you select the item. Then uncheck the ‘Create directly from timeline’.
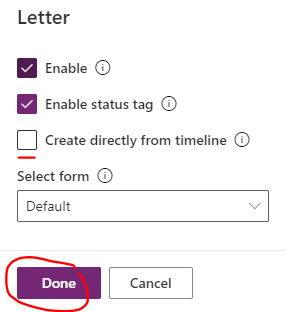
Once unchecked then click ‘Done’.
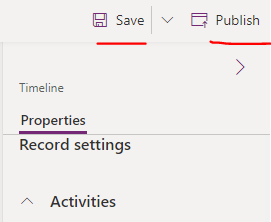
Once you have made the appropriate changes for all the activity items you wish to remove from the timeline, then click ‘Save’ and ‘Publish’ at the top right of the customisation screen
On the company ‘Timeline’ you can now see that only a few activity items can be created.
If you do not want items to appear in the ‘Timeline’ for example ‘Letters’ and ‘Fax’ you can uncheck the ‘Enable’ option in the timeline customisation area.
To configure the timeline for other entities, go to the appropriate table / entity and make the same adjustments within the form designer.
